%20(1)%20(1).png)
As a software professional handling Infrastructure as Code (IaC), chances are you work a lot with Terraform. When helping new clients to use IaC, it is common to simplify things, but managing a Terraform state file is the first challenge you face. Essentially, Terraform state contains sensitive information which shouldn’t be stored by source control but, at the same time, won't scale if you have multiple users working on the same Terraform state. The answer to that? Backends.
It is important to note that you could store that state file on an S3 bucket and use DynamoDB to manage the locking state. However, this approach will force you to create additional resources which makes it a complicated option, especially if the client is using GitLab. GitLab recently lowered the entry barrier to integrating Terraform by providing a way to store and manage Terraform state, as well as an easy way to set up a CI around it.
In this blog post, we will explain what a Terraform state file is, how to migrate it to GitLab, and setting up a CI Pipeline for it. You can visit our repository here.
Table of Contents
- What is Terraform state?
- How to get GitLab to manage Terraform state
- How to get GitLab to run your IaC through a CI Pipeline
- Bonus Tip: Infracost
- Conclusion
What is Terraform State?
Terraform records any information about the infrastructure defined in your code via a state file. Written in JSON, it essentially records a mapping from the Terraform code to the real resources created. Below is an example of what a terraform.tfstate would look like. Primarily, every time you run Terraform it will fetch the latest status for its EC2 Instance and compare it with your Terraform configuration to determine what changes need to be applied.
By default, this terraform.tfstate is stored locally where you have your Terraform files, plan, and apply your changes. For a personal project where you are just running some tests, it's fine but not the recommended way, here's why:
- Stored in a shared location: if you were hosting this state file on your local workstation and had to work with another engineer, things would get complicated. Both of you will have to make sure you are using the latest version of the state and you could run into race conditions if you run a Terraform plan or apply at the same time.
- Protect sensitive information: A generated state file can contain encryption keys and infrastructure passwords. However, state files aren't encrypted by default, and storing sensitive information in plain text is a bad idea.
- Locking: Most version control systems do not support any form of locking which prevents two team members from running Terraform apply simultaneously on the same state file. This is another reason why we will not see a state file managed by source control.
How to Get GitLab to Manage Terraform State
With Terraform being considered the standard in cloud infrastructure provisioning, it has been a year or so since GitLab began to offer a way to store and manage your Terraform state. For this reason, we wanted to share the migration process with you as we recently started using GitLab to manage our IaC.
For this article, we presume that you are using a local state, and have your state managed with an AWS S3 Bucket or another backend solution.
Firstly, you will need to change your backend.tf to use HTTP.
Next, you will need to set up 4 variables in your terminal:
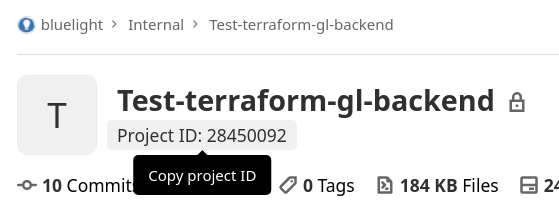
- PROJECT_ID: You can find this easily by navigating to your repo on the Project Overview page
- TF_USERNAME: Gitlab username that has access to the repo you're working on.
- TF_PASSWORD: Access token generated from your GitLab user.
- TF_ADDRESS: URL of the remote state backend
You may now run the migration command that will move your Terraform state from his previous location to GitLab with the following command:
You will need to provide a confirmation by a “yes” so that GitLab can start managing your state file. Here's an example from a local state to GitLab:
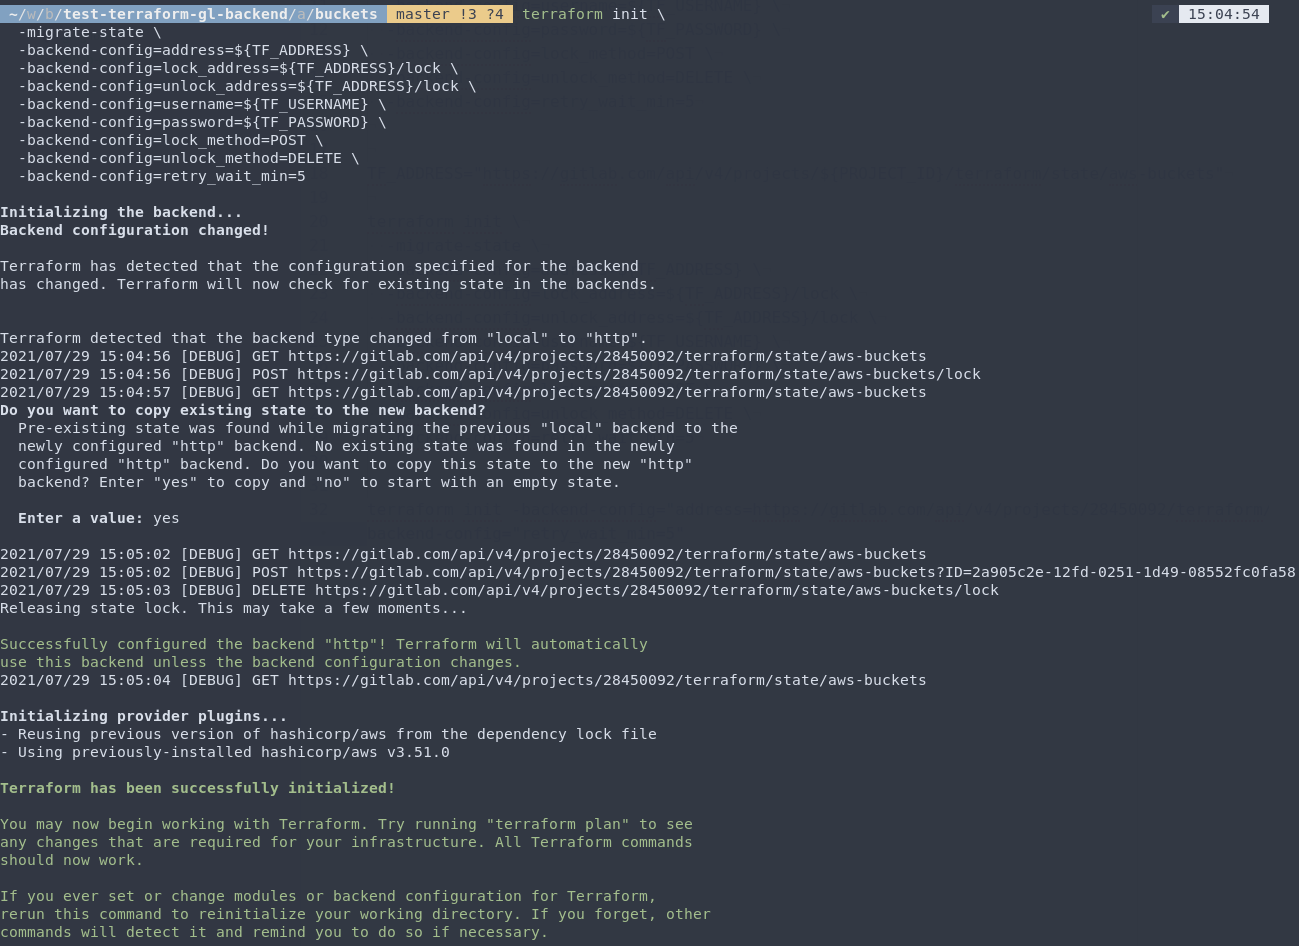
Example s3 to GitLab

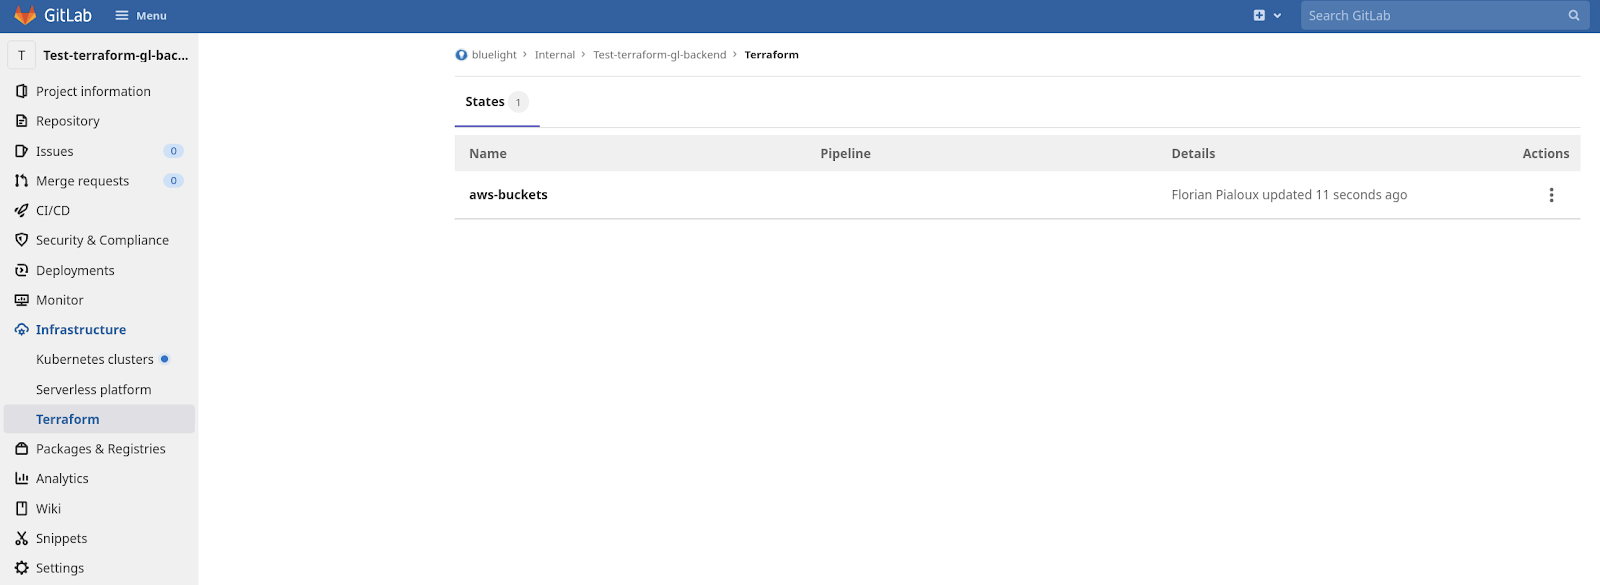
Now you can navigate to Infrastructure > Terraform from the GitLab interface and see your state:
I noticed for some of the state files I had from s3 will be blank even after using the migrate-state command ran previously, in this case, you can run this:
Copy paste the content from the s3 state and run a push:
GitLab supports versioning for your Terraform state file but viewing/restoring older versions through the WebUI will require you to be using a GitLab Premium plan. If not, you will need to make a GraphQL API request.
How to Get GitLab to Run your IaC through a CI Pipeline
GitLab provides a docker image that contains GitLab-Terraform, which is a thin wrapper script around the official Terraform binary. Alternatively, you could use the official docker image by Hashicorp. You can find more information about the GitLab Terraform Image here.
Once the terraform apply job runs, you will be able to see when the state was used and with which pipeline.

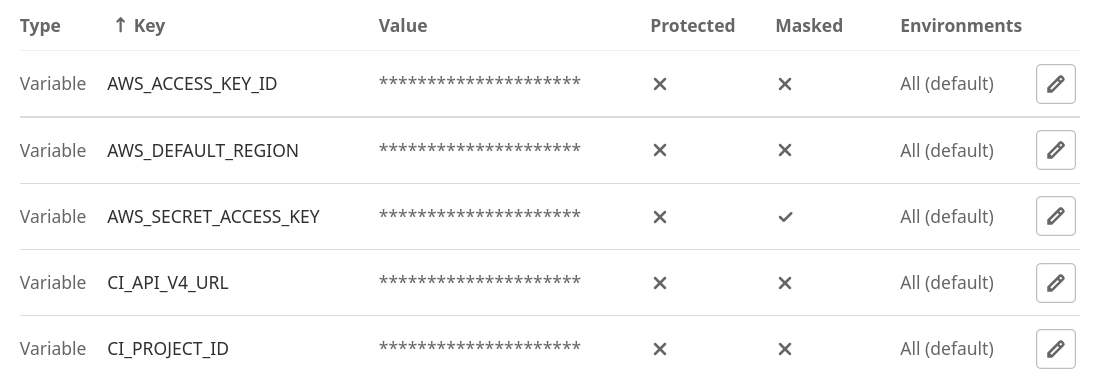
Learn more about what our gitlab-ci.yml looks like here. Below are the variables that will need to be defined on the project level:
Bonus Tip: Infracost
As you might have noticed, looking at our gitlab-ci.yaml we added Infracost which allows us to have more control over our cloud billing as it gives you a cost estimate whenever you define a new resource to your IaC. To learn more about Infracost, you can check out our in-depth article about what it entails, and our step-by-step guide on how to integrate it with Terraform.
Conclusion
Having your Terraform state and CI running on Gitlab is a great way to follow GitOps best practices. They both make a great combination to develop and deploy IaC. Since most of you might be already using GitLab for your repositories, it becomes much simpler to have your IaC under one roof and let GitLab manage your Terraform state by supporting encryption in transit and at rest, as well as versioning, locking and unlocking the state.
You may also be interested in:
How to Back Up Kubernetes Clusters with Kasten: A Complete Guide
Snyk: Introduction to 5 Main Security Scanning Capabilities
Wazuh: How to Deploy for File Integrity Monitoring
How to Install Bitnami Kubernetes Production Runtime (BKPR)
How to Install Pixie for Kubernetes Monitoring: The Complete Guide
Azure DevOps Engineer Salary: The Complete Guide for 2022
Nearshore Software Development Rates: The Complete Guide for 2022
More cost-effective than hiring in-house, with Nearshore Boost, our nearshore software development service, you can ensure your business stays competitive with an expanded team and a bigger global presence, you can be flexible as you respond to your customers’ needs.
Learn more about our services by booking a free consultation with us today!


